区块链实验
挖矿实验
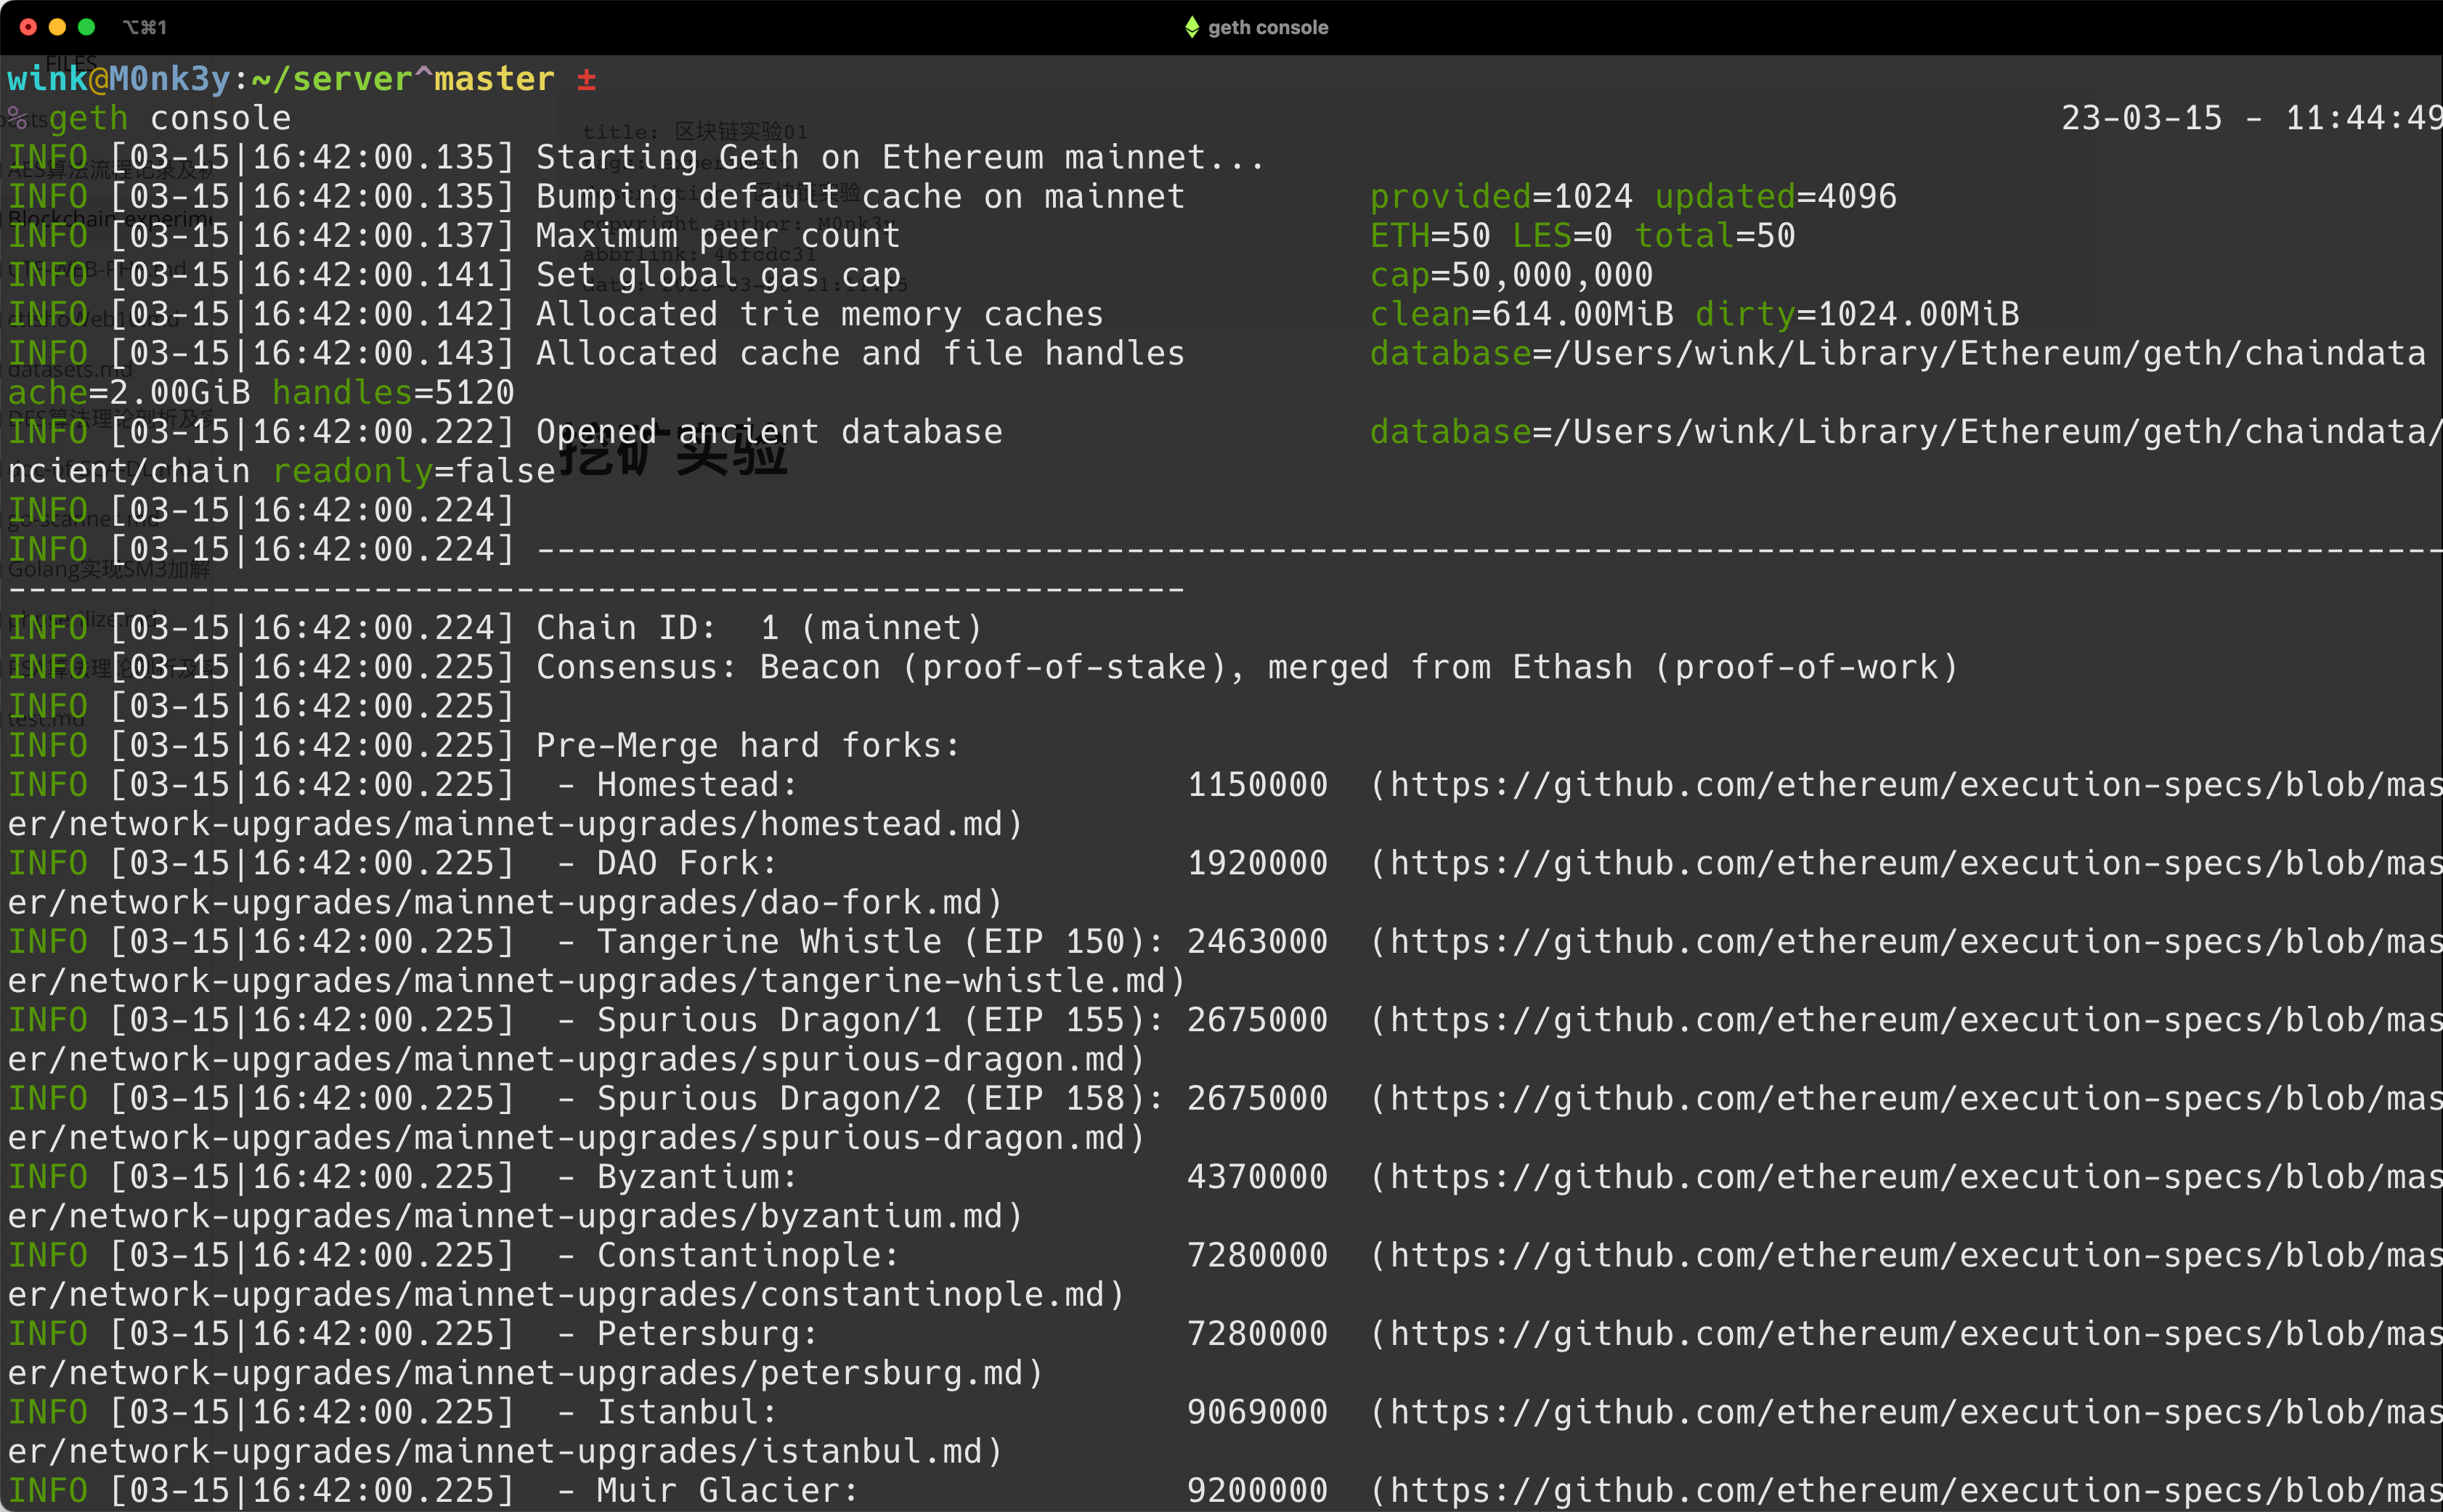
在环境装好之后,shell里使用geth console命令可以进入控制台
创建用户
这里可以在控制台外创建,Windows新版本的geth不支持默认开启Person,而挖矿需要指定一个账户地址,作为挖矿账户。
geth account new 随后输入两次密码

1 | geth --datadir data console #进入控制台 这里data是之前存放配置的目录 |

为了后续演示方便再按照以上步骤创建一个账户

!!! 以下操作在控制台内执行
!!! 以下操作在控制台内执行
!!! 以下操作在控制台内执行
指定默认挖矿账户
eth.coinbase查看挖矿账户

默认账户为第一个,若要修改在控制台中输入
miner.setEtherbase(eth.accounts[N]) N为账户列表中第N个地址的索引


可知挖矿账户地址已修改
挖矿
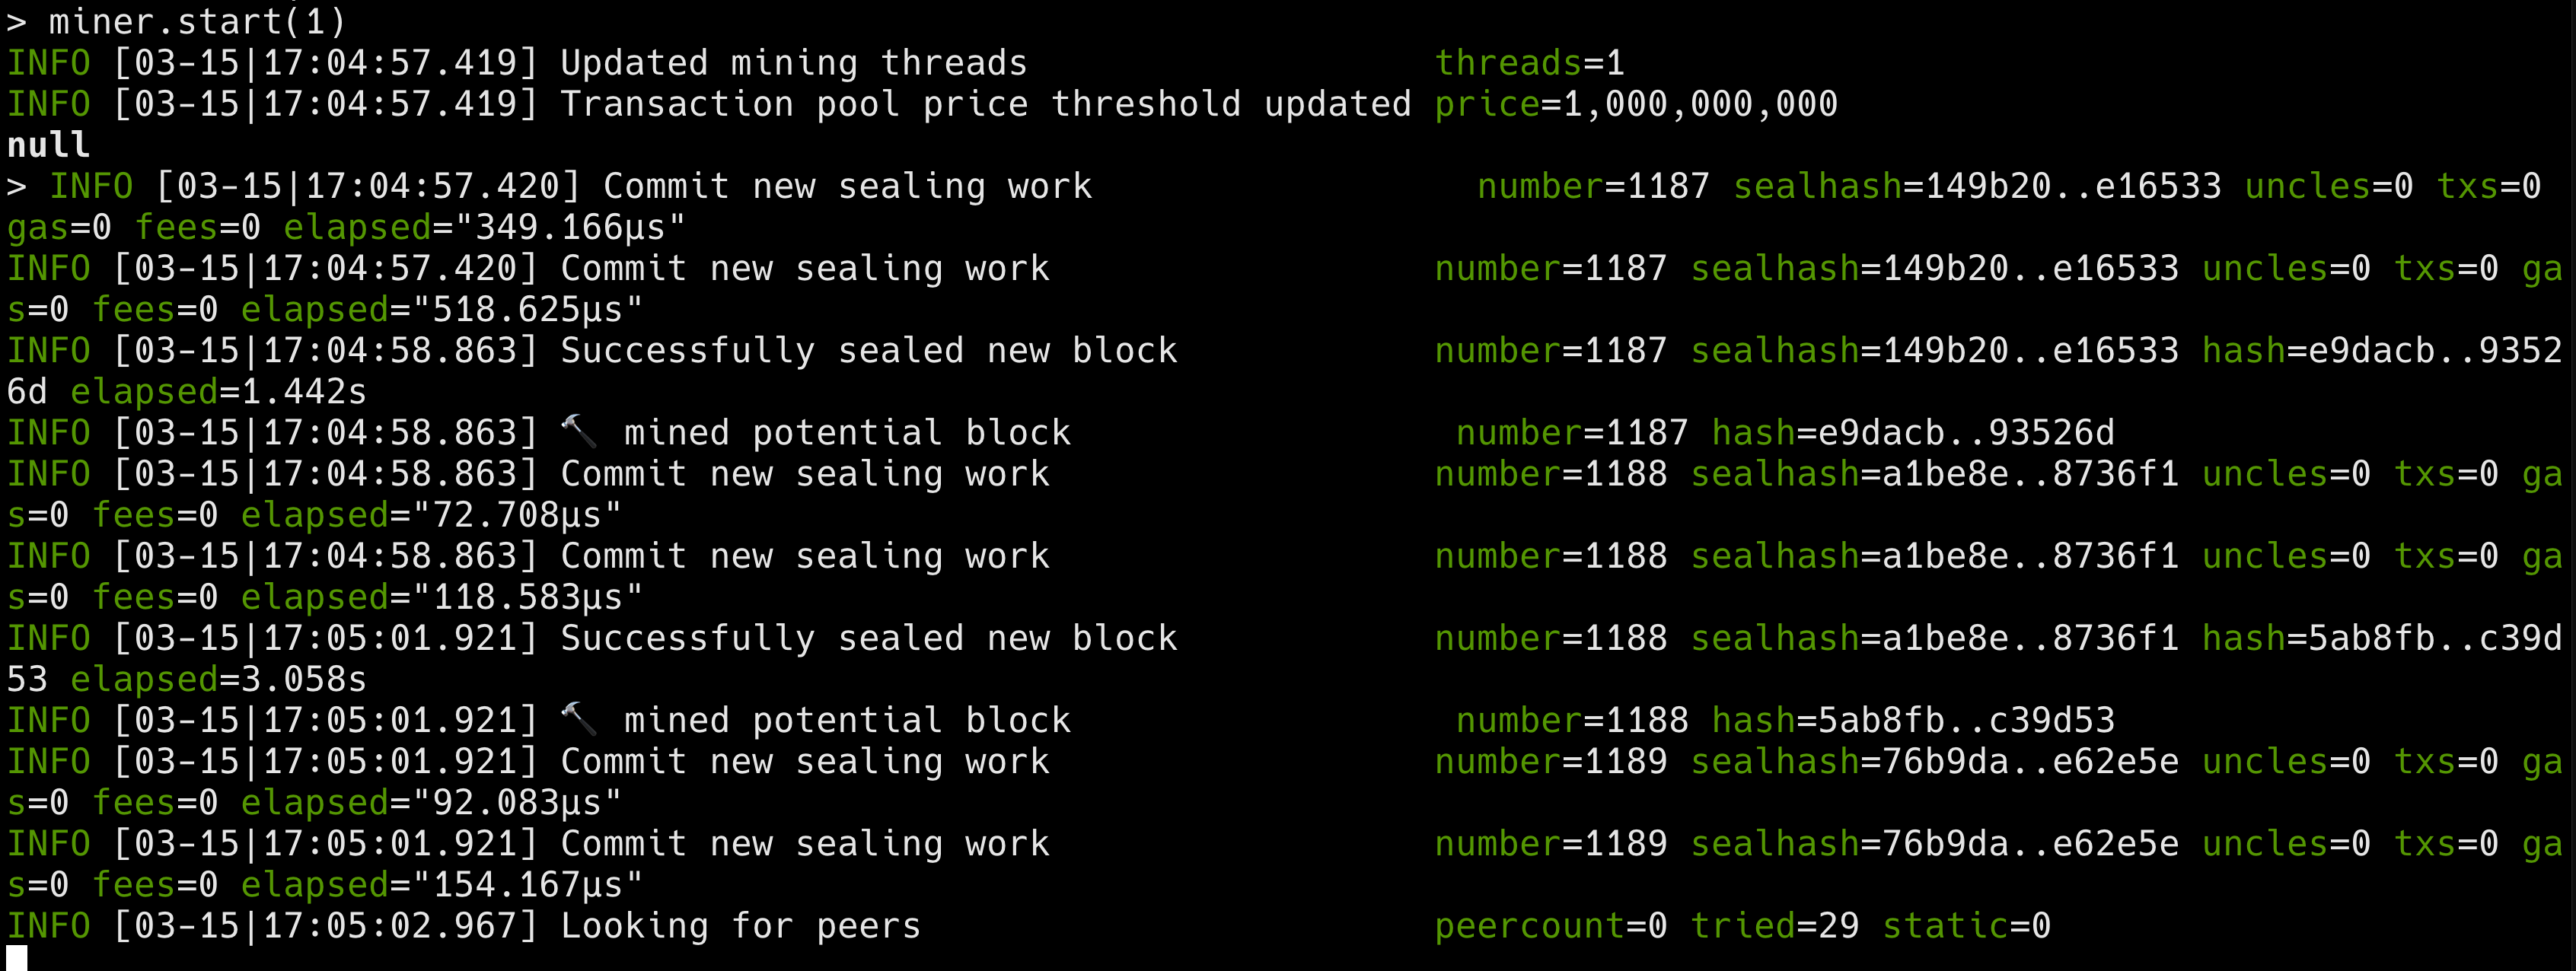
miner.start(N) N为开启的线程数
查看账户余额
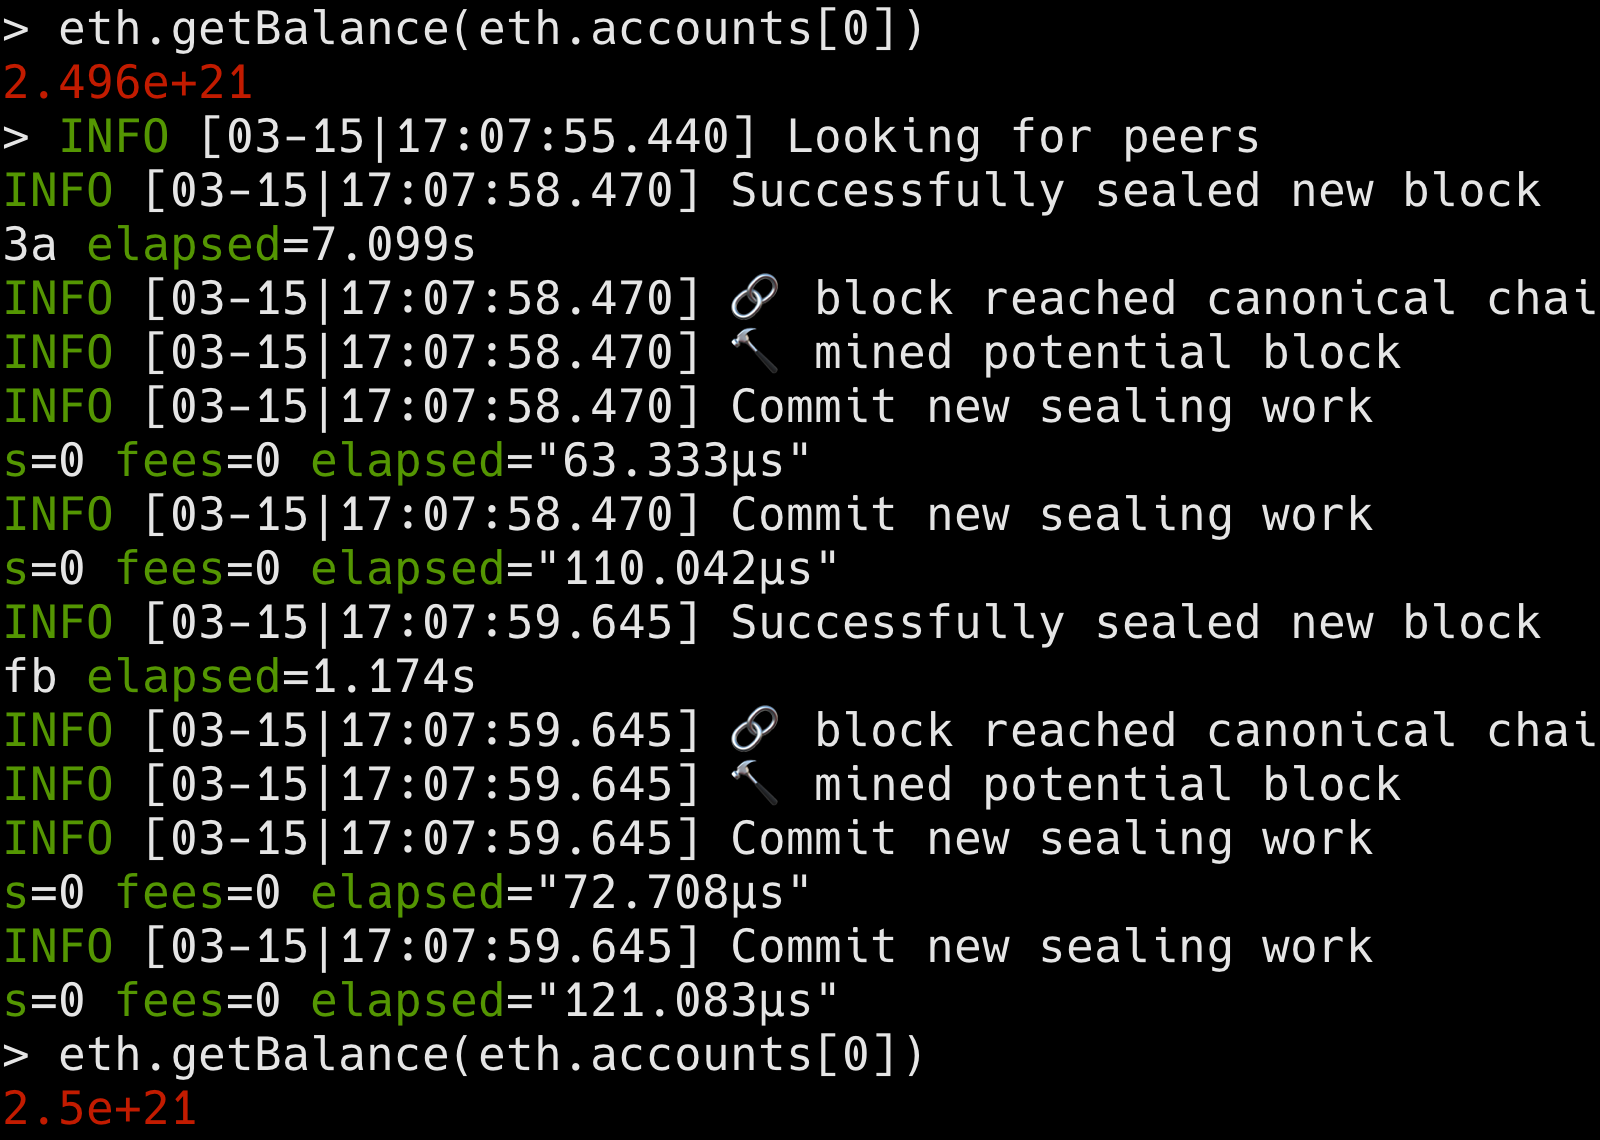
这里2.496e+21的单位是Wei 换算成以太币为2496

eth.blockNumber查看区块的高度

miner.stop() 结束挖矿

远程接入节点
重新初始化节点
初始化节点
geth init --datadir data1 genesis.json
geth init --datadir data2 genesis.json

在data1节点中新建用户geth --datadir data1 account new
在data2节点中新建用户geth --datadir data2 account new
输入两次密码后创建成功
启动节点1
geth --datadir data1 --networkid <your-networkid> console 进入控制台

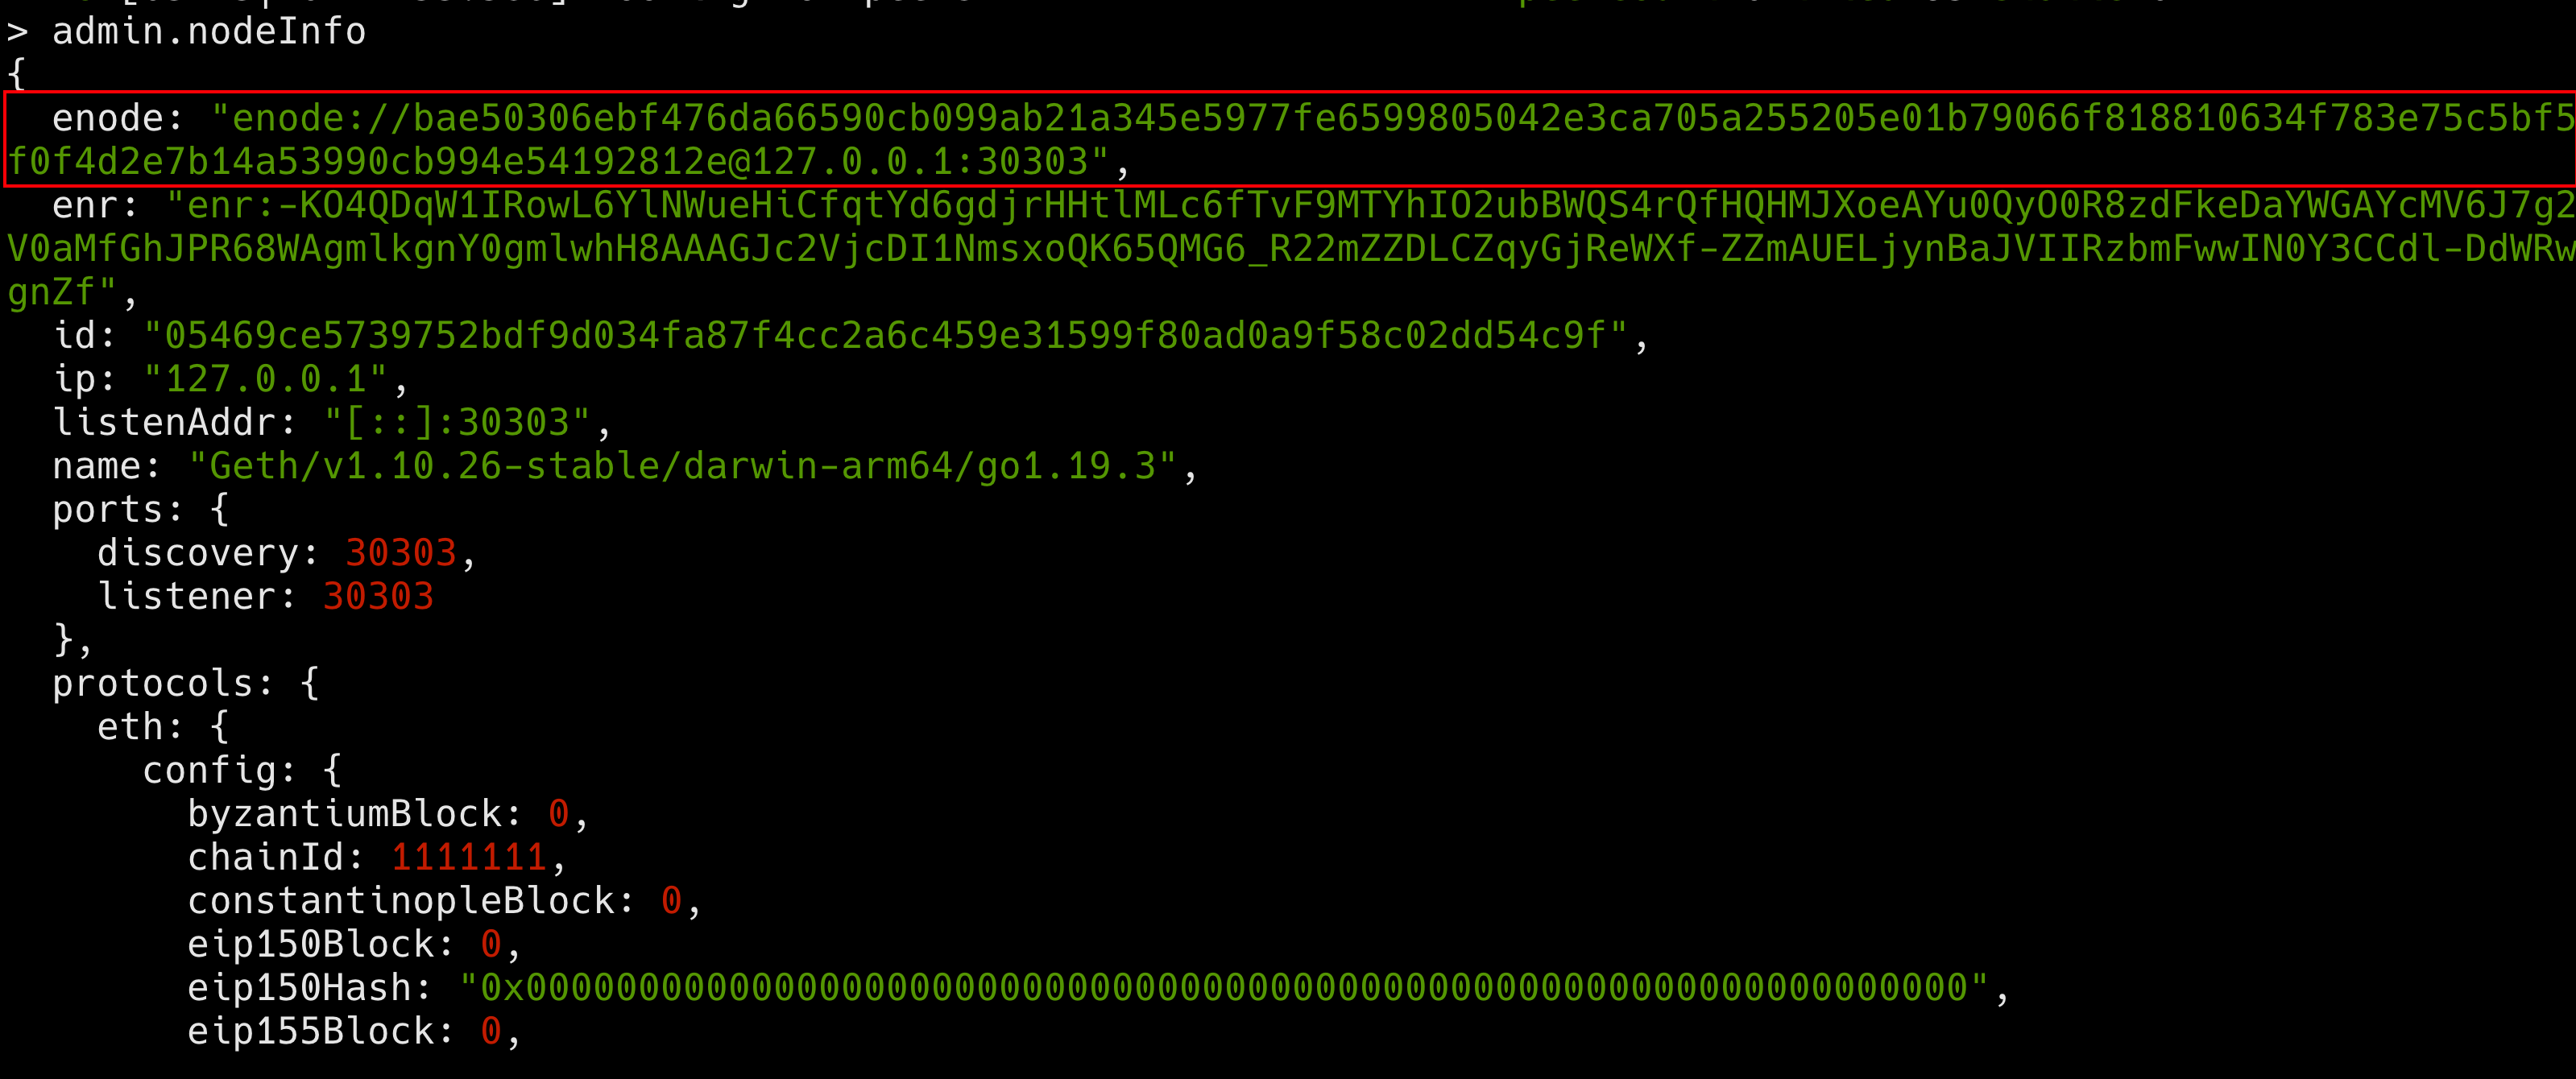
admin.nodeInfo查看节点信息
启动节点2
geth --datadir data2 --port 30306 --authrpc.port 8555 --networkid 415415 --bootnodes <your-enode-data-in-red-frame> console
Example geth --datadir data2 --port 30306 --authrpc.port 8555 --networkid 415415 --bootnodes enode://bae50306ebf476da66590cb099ab21a345e5977fe6599805042e3ca705a255205e01b79066f818810634f783e75c5bf5f0f4d2e7b14a53990cb994e54192812e@127.0.0.1:30303 console
这里127.0.0.1是本地 局域网注意修改
查看peers
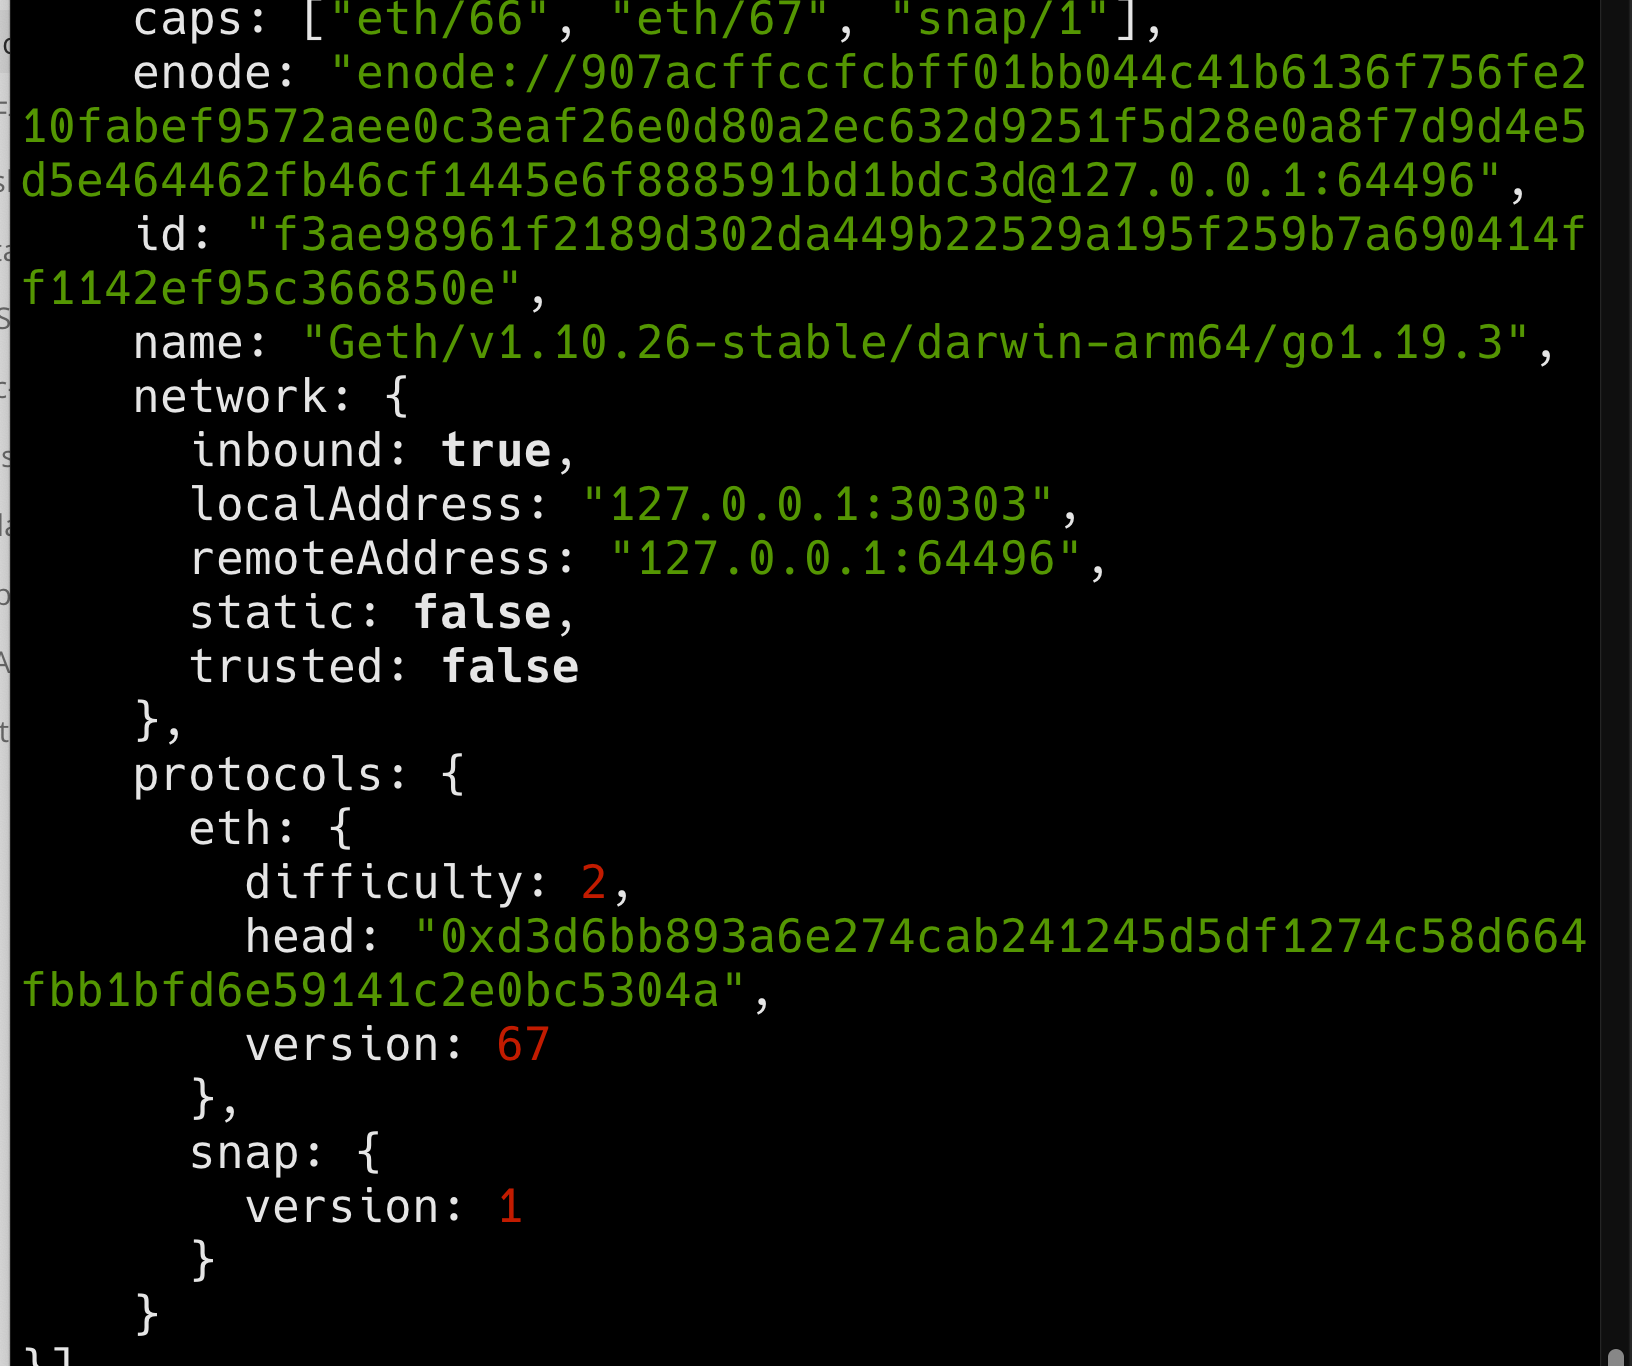
admin.peers查看是否已经接入
交易
查询初始化创建的账户余额:eth.getBalance(eth.accounts[0])

挖矿miner.start(1)
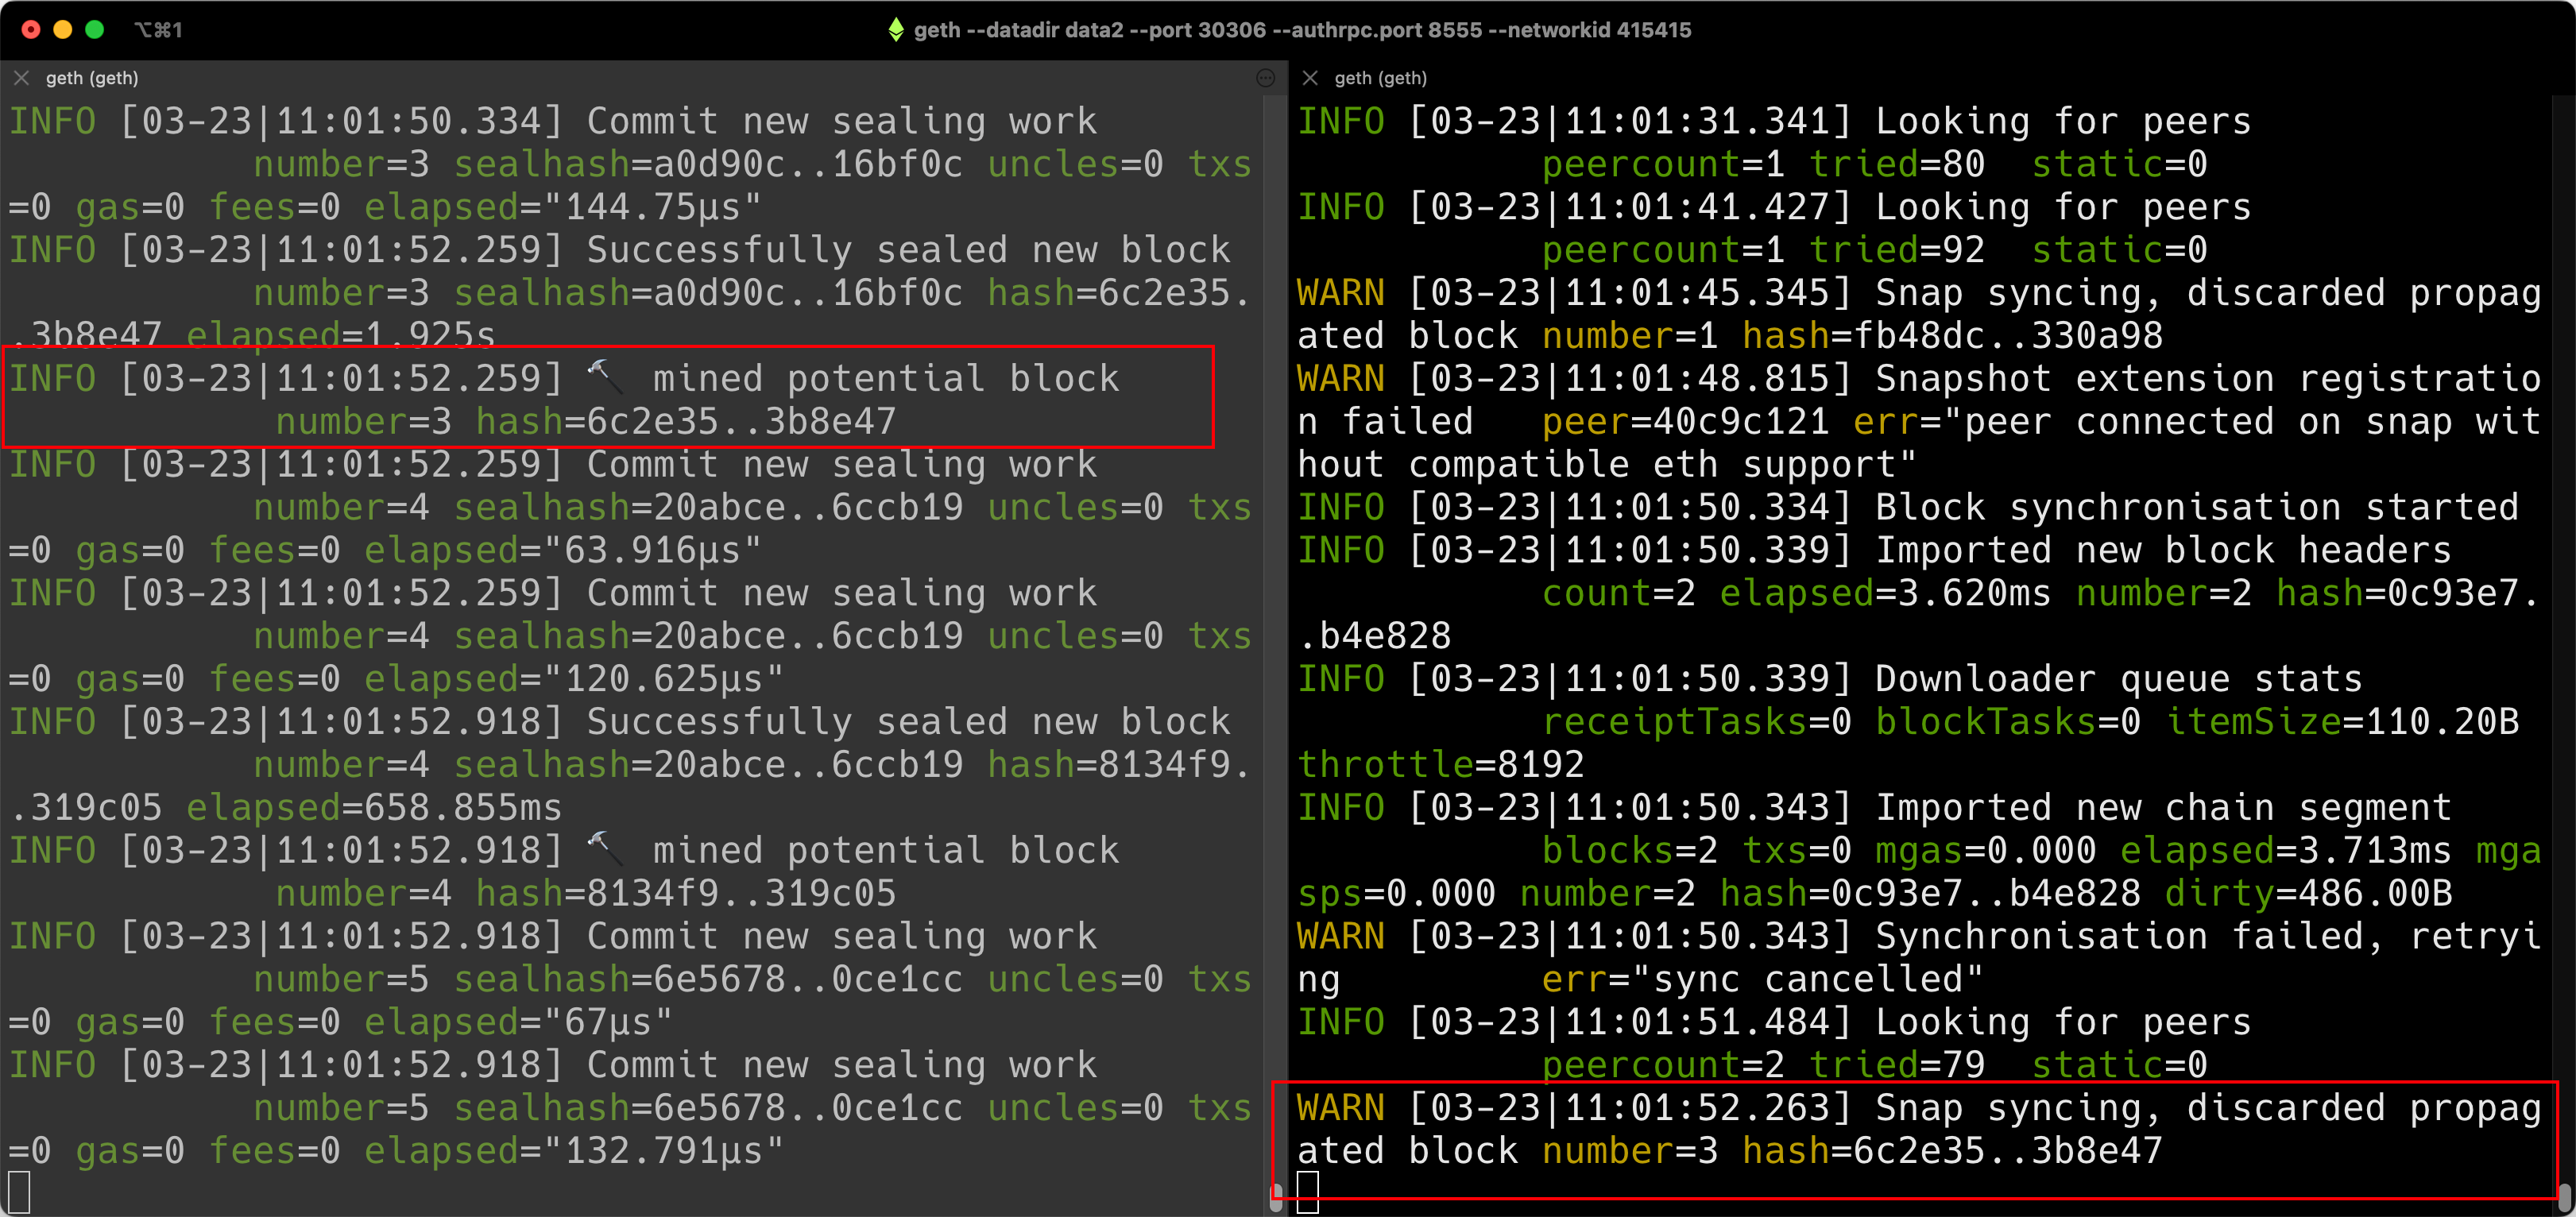
可以看到私链接入后,挖出区块同步信息。
miner.stop()停止挖矿
eth.getBalance(eth.accounts[0])查看余额

data2节点
eth.accounts[0]查看账户

eth.getBalance(eth.accounts[0])查看余额

转账
1 | personal.unlockAccount(eth.accounts[0]) # 转账前需要解锁账户 |

1 | eth.sendTransaction({ |

txpool.status查看交易池
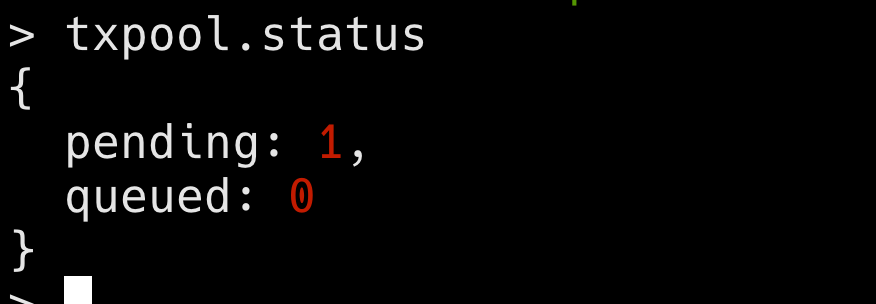
可知刚才提交的交易还并未处理,需要有人挖到一个区块后,在区块中加入这次的转账交易。
Data1 中miner.start(1)
Data2中eth.getBalance(eth.accounts[0])

https://blog.csdn.net/m0_46316967/article/details/126297134
智能合约部署
合约编写
- tests目录下新建demo.sol文件
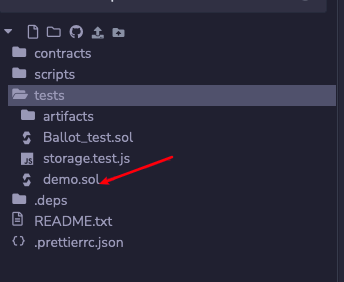
- 代码如下
1 | // SPDX-License-Identifier: SimPL-2.0 |
- 编译合约
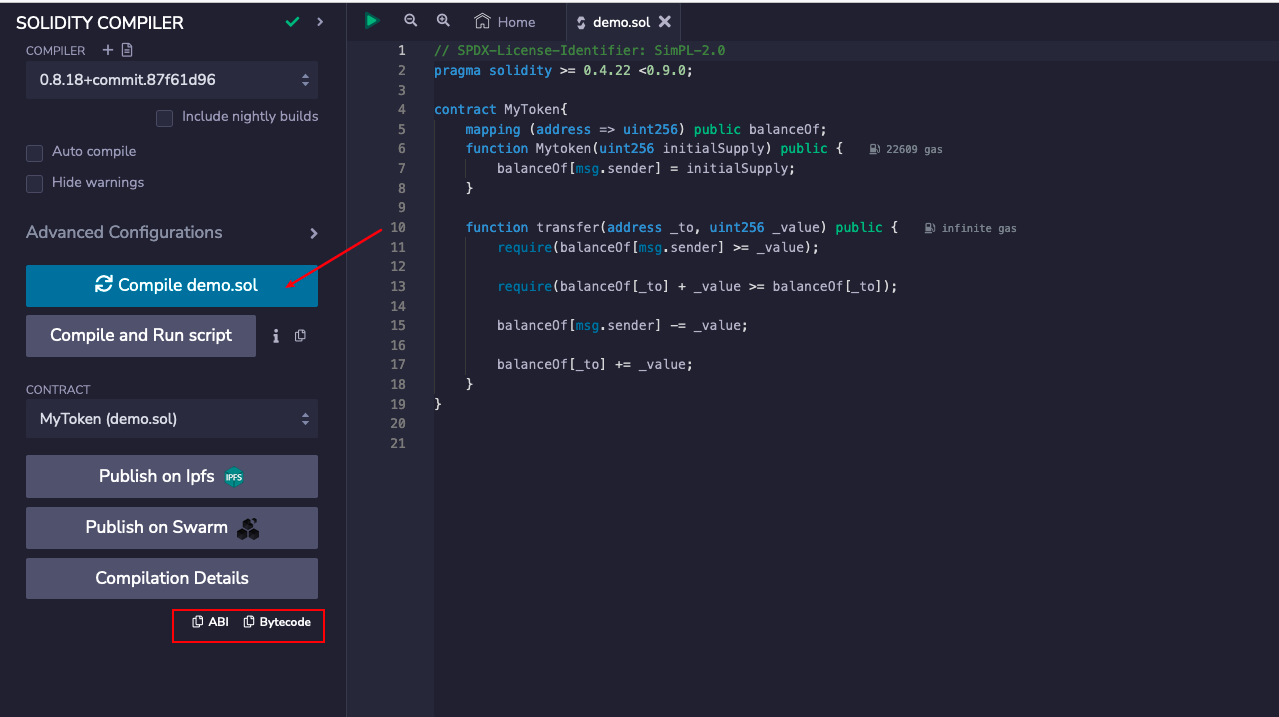
通过以下网站将ABI压缩为单行
部署合约
1 | # 转义abi |

1 | # 赋值 |
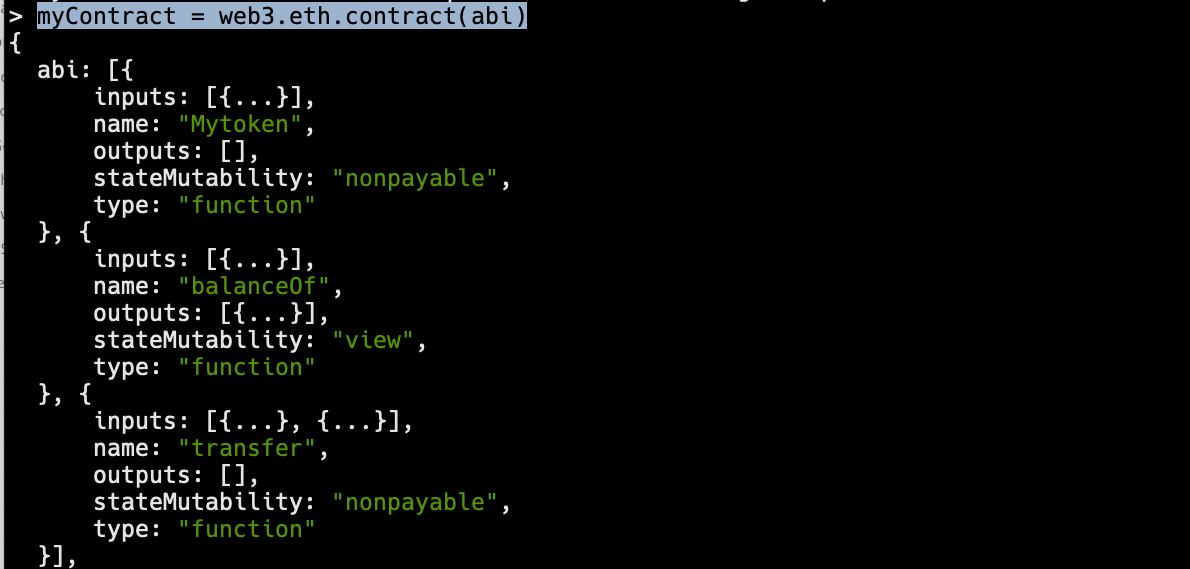
1 | # 预估手续费 |

预估合约部署手续费: web3.eth.estimateGas({data: bytecode})
1 | # 解锁账户 |

1 | # 初始化 |
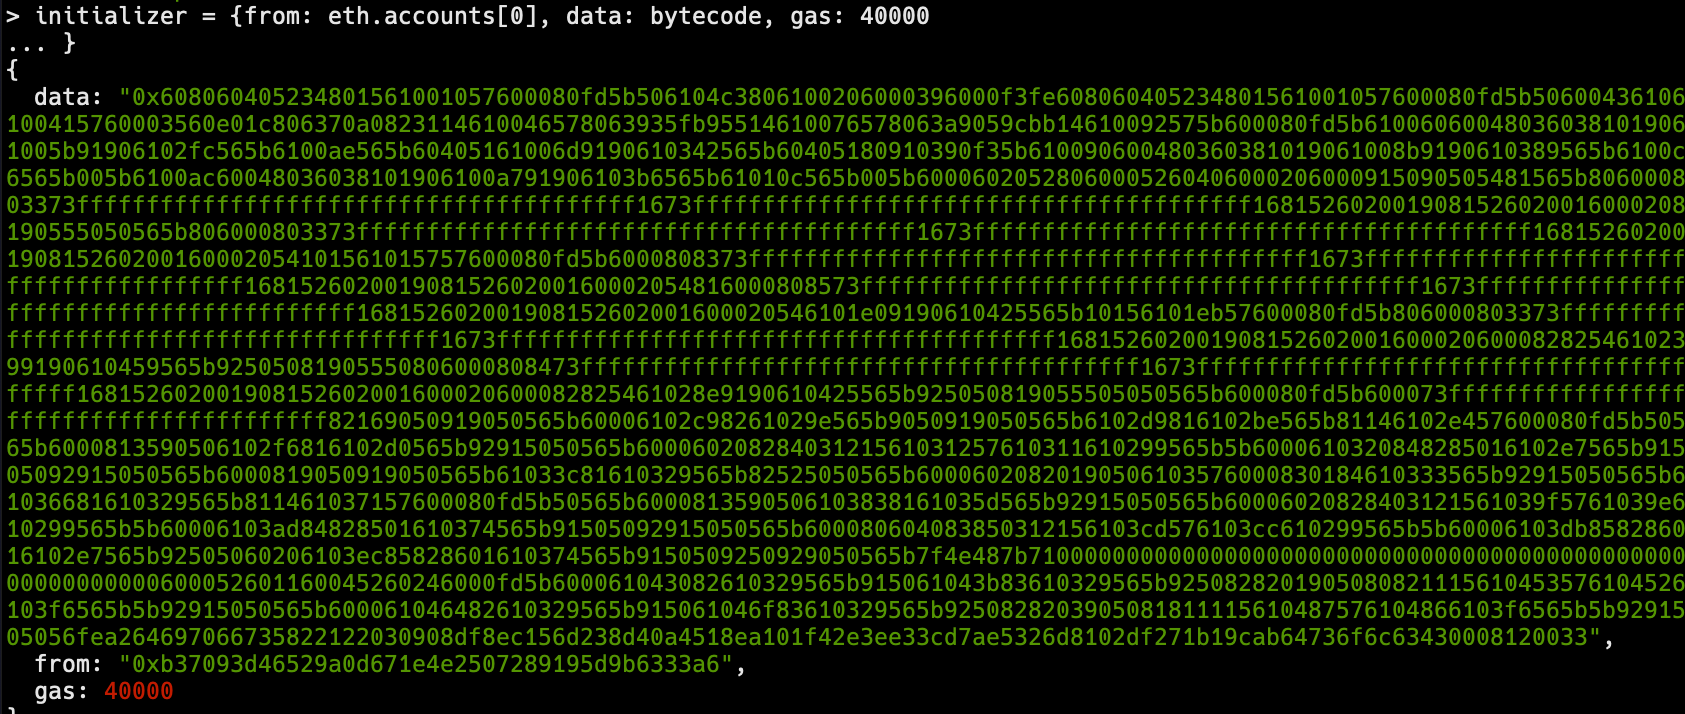
1 | # token address |

挖矿对合约地址进行确认
1 | miner.start(1) |

1 | # 获取合约对象 |
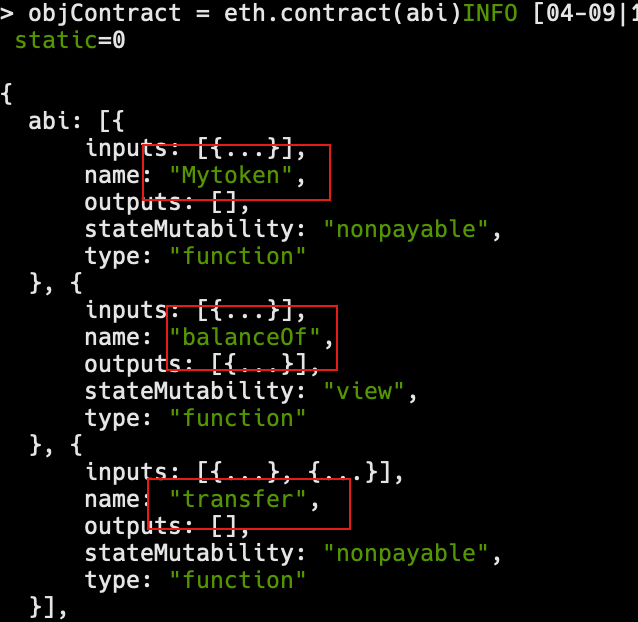
1 | # 实例化 |
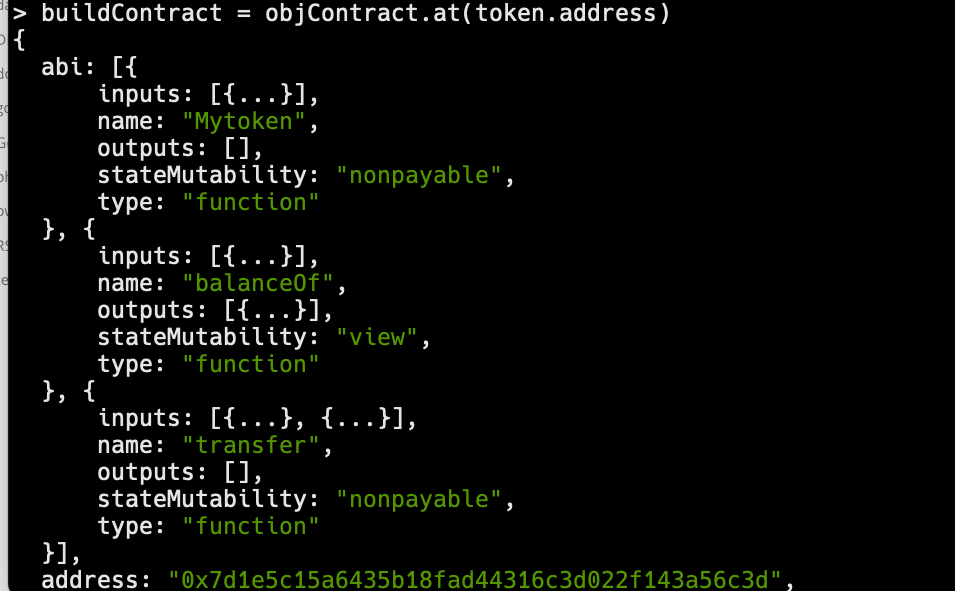

1 | # 实例化为buildContract 将初始货币分配1000个 |

1 | # 调用transfer给指定账户转账 |

